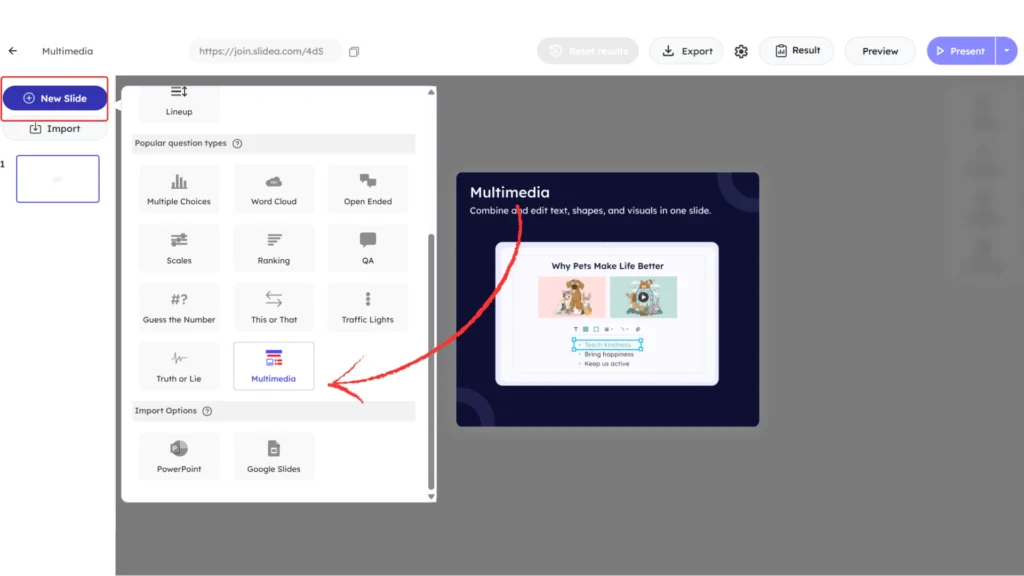
What is Multimedia Slide
The multimedia slide is different from other slide types because it works like a free canvas. Instead of fixed layouts, you can place, resize, rotate, and edit elements anywhere on the slide, giving you complete design flexibility.
Compared to other slide types that follow structured layouts, this slide allows creative freedom and advanced customization for visuals, text, data, and media.
How to Add a Multimedia Slide
- Click on the New Slide and select Multimedia slide type
This slide type lets you design content visually by directly interacting with elements on the slide. You can click, drag, resize, rotate, and animate items without switching between multiple panels. You can also use keyboard options such as Backspace or Delete to remove selected elements or undo changes while editing.
All editing options appear when an element is selected. When you click on an empty area of the slide, default slide options are shown.
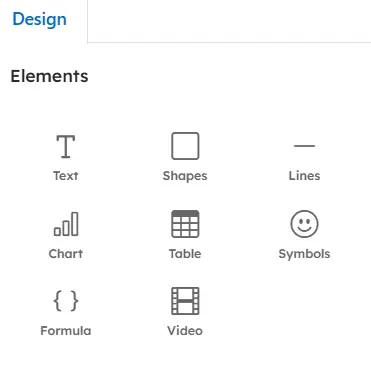
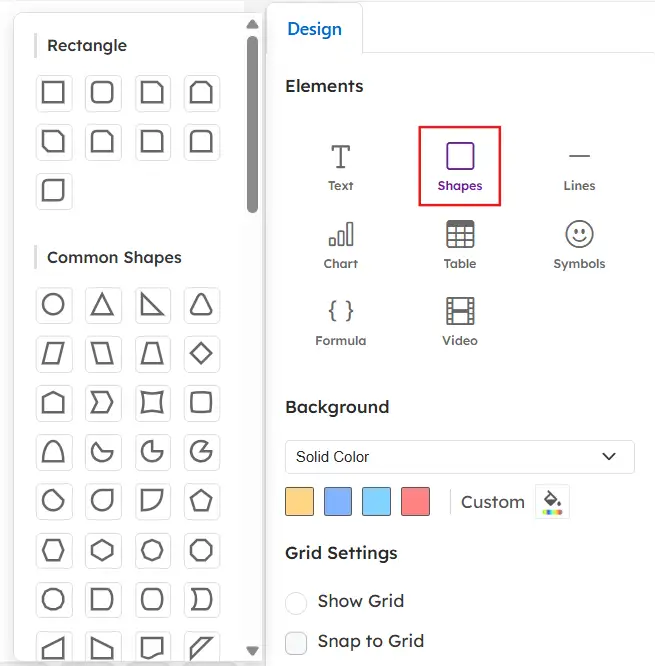
Available Elements in the Design Panel
Below the Design option, there are eight element categories.
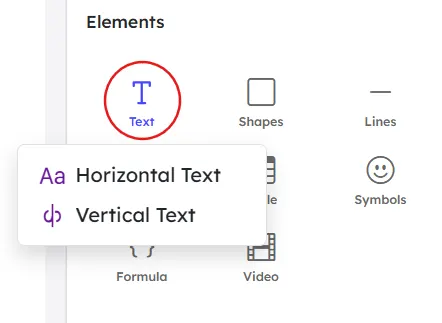
Text
You can add both Horizontal and Vertical text to the slide.
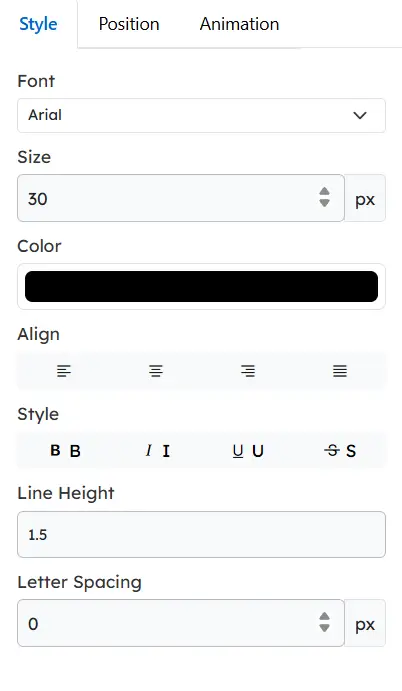
Style controls
- Change the font, size (in px), and text color
- Align text using left, center, right, or justify options
- Apply text styles such as Bold, Italic, Underline, and Strikethrough
You can also use shortcut keys:
Bold: Ctrl + B
Italic: Ctrl + I
Underline: Ctrl + U
- Adjust line height and line spacing using numeric values
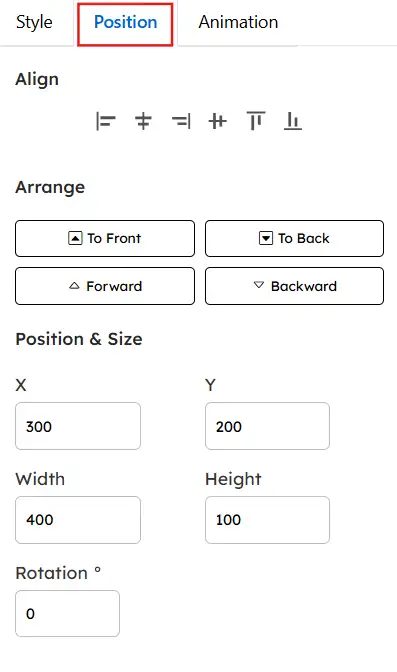
Position
- Align text using six alignment options:
- Align Left
- Align Center
- Align Right
- Justify
- Align Top
- Align Bottom
- Align Left
- Arrange text layers using:
- To Front
- To Back
- Forward
- Backward
- To Front
- Adjust text placement precisely by entering values in the X (left/right) and Y (up/down) fields.
- Modify the text dimensions and orientation by adjusting the width, height, and rotation angle as needed.
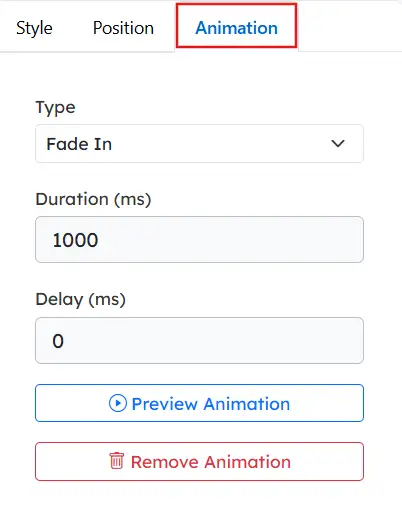
Animation
- Click Add Animation and choose from 14 animation types using the type drop-down
- Set the animation duration in milliseconds
- Set the delay (in milliseconds) before the animation begins.
- Preview the animation or remove it when not needed
All text-related changes can also be made directly on the slide by dragging, resizing, or rotating the text box.
Common Settings (All Elements)
- Position settings allow precise control over the placement and size of elements on the slide.
- Animation options control how elements appear during the presentation.
- All changes can also be made directly on the slide by dragging, resizing, or rotating elements.
Shapes
Includes rectangles, common shapes, arrows, other shapes, and lines.
All shapes support the following options:
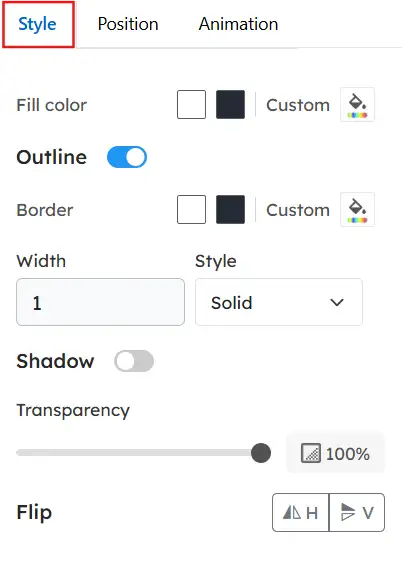
Style
- Change the fill color and adjust transparency
- Enable or disable the outline
- Select outline color, width, and style (solid, dashed, dotted)
- Apply shadow effects
- Flip the shape horizontally or vertically
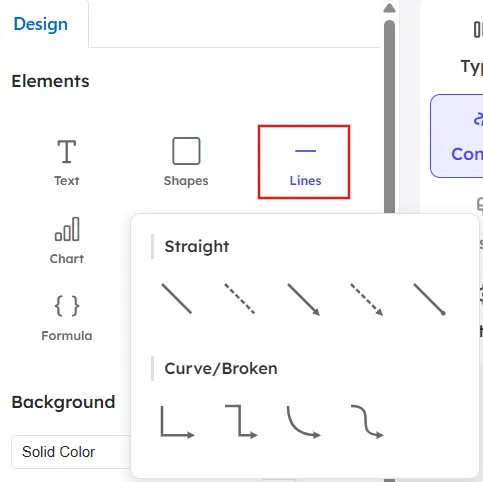
Lines
Line options include:
- Straight lines (5 models)
- Curve or broken lines (4 models)
Style
- Choose the line style: solid, dashed, or dotted
- Change the line color or select a custom color
- Adjust the line width using the slider or value field
- Add start and end markers (for example, arrowheads)
- Use Swap Direction to reverse the line direction
- Enable or disable shadow for depth effect
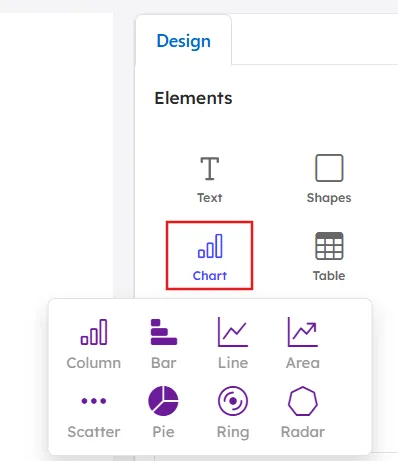
Charts
Available chart types:
- Column
- Bar
- Line
- Area
- Scatter
- Pie
- Ring
- Radar
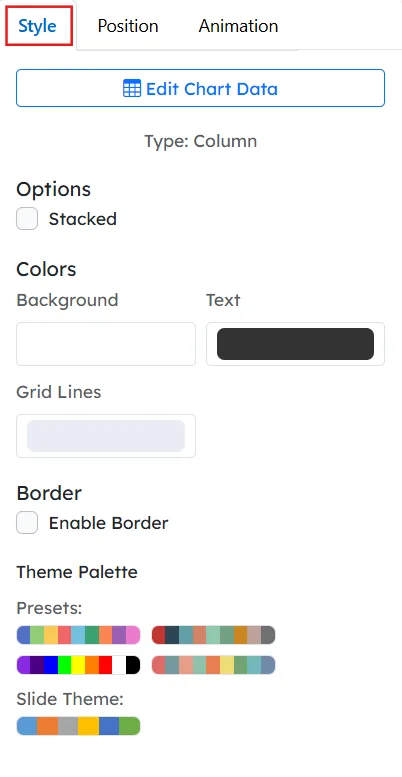
You can edit data, add series, rename categories, apply themes, enable stacked views, adjust grid lines, borders, colors, and thickness. Each chart supports position and animation settings.
Stacked view: Combines multiple data series into a single bar by stacking them, rather than displaying them side by side.
Example
- Stacked ON → One bar per category, divided into colored sections (Series 1 + Series 2).
- Stacked OFF → Separate bars for each series displayed next to each other.
Tables
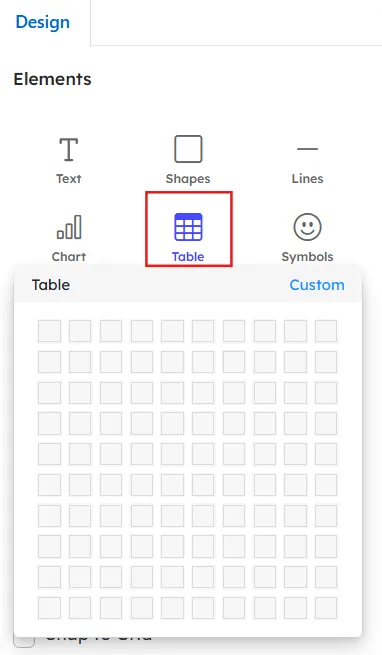
- Create custom rows and columns
- Edit cell text style, alignment, font size, and color
- Modify table structure
- Apply themes for header, total row, and columns

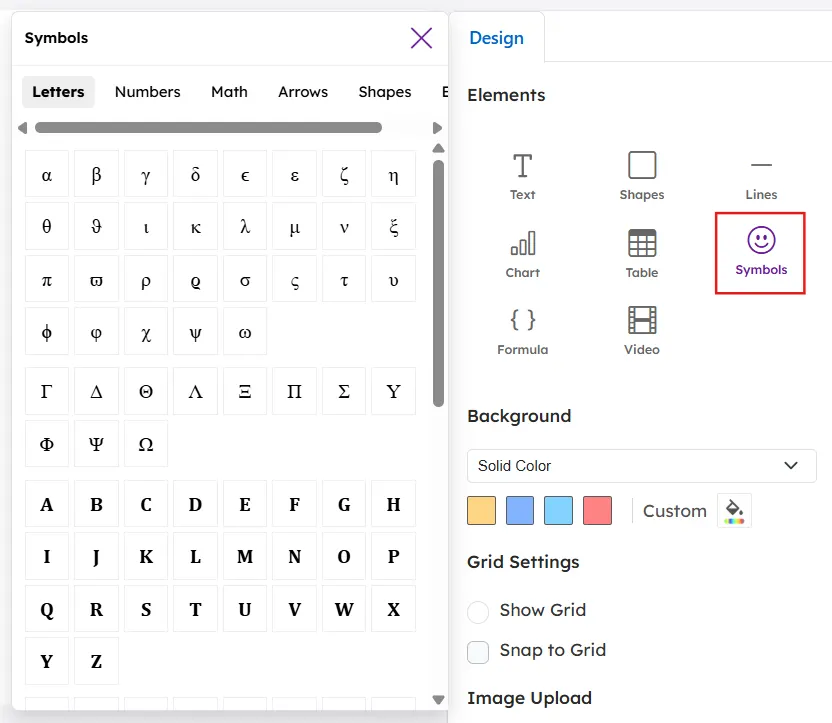
Symbols
Includes letters, numbers, math symbols, arrows, shapes, and emojis. You can add text along with symbols and edit them using all available text editing options.
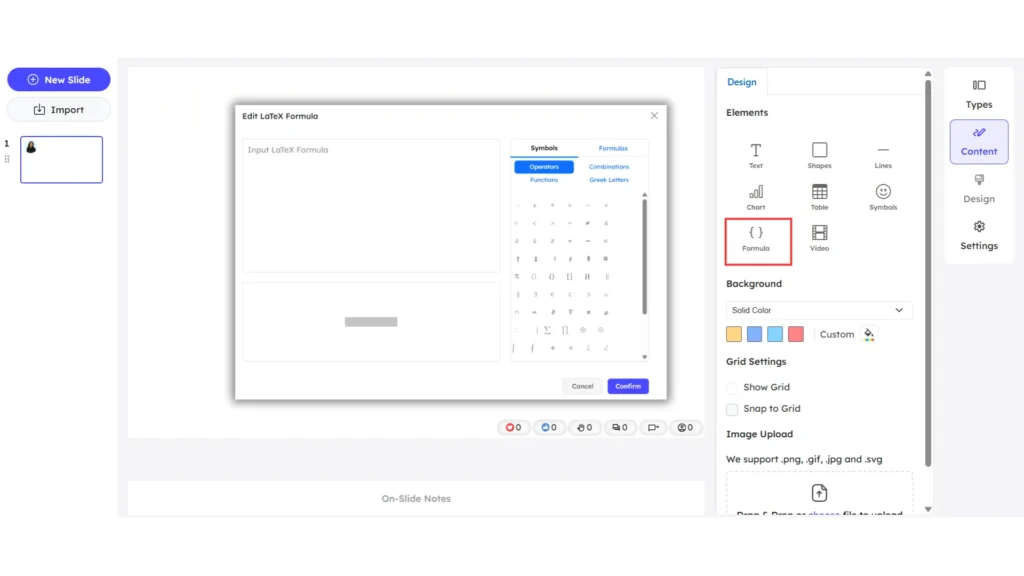
Formula
- The Formula editor uses LaTeX syntax to create mathematical expressions
- Two sections are available in the side panel: Symbols and Formulas.
- Symbols allow you to insert operators, combinations, functions, Greek letters, and common mathematical symbols.
- Formulas provide pre-built mathematical combinations and structures
- Clicking any symbol or formula inserts it directly into the LaTeX input box
- The Input Box is used to enter or edit LaTeX code
- The Preview Box displays a live, rendered version of the equation
- The preview updates automatically as you modify the input
- Click Confirm to apply the formula to the slide
- Click Cancel to discard changes and close the editor
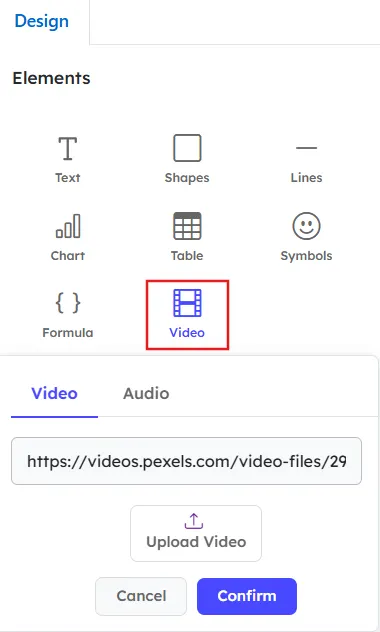
Video
- Add video elements separately to the slide.
- Paste a video URL to embed external video content.
- Upload video files directly from your device using the Upload Video option.
- Click Confirm to add the selected video to the slide.
- Once added, the video element can be moved, resized, and aligned anywhere on the slide.
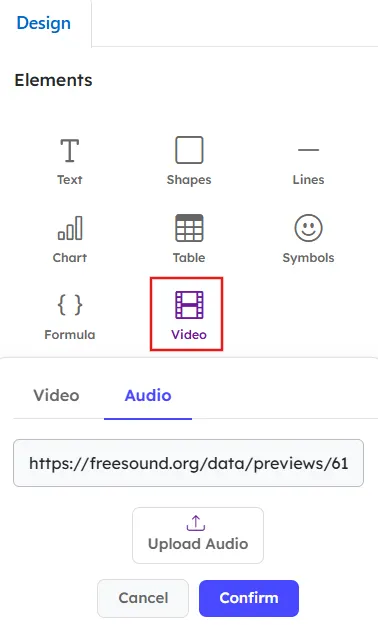
Audio
- Add audio elements separately to the slide.
- Paste an audio URL or upload files using the Upload Audio option.
- Click Confirm to add the selected audio to the slide.
How to Change the Slide Background
You can customize the background using three options.
Solid Color Background
A solid color background applies one single color to the entire slide.
- Choose from the default color options.
- Select a custom color using the color picker.
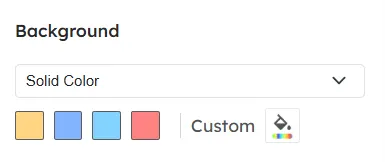
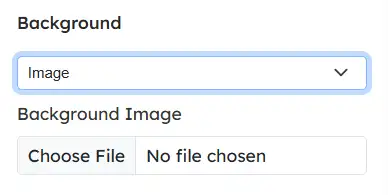
Image Background
An image background uses a picture as the slide’s background.
- Upload a background image from your device using the Choose File option.
- The image is applied directly to the slide.
Display Mode options:
- Cover: Fills the entire slide.
- Contain: Fits the image within the slide without cropping.
- Repeat: Repeats the image across the slide.
Gradient Background
A gradient background blends two or more colors smoothly across the slide.
There are two gradient types:
- Linear Gradient
- Uses color transitions in a straight direction.
- Adjust the angle from 0 to 360 degrees.
- Uses color transitions in a straight direction.
- Radial Gradient
- Colors spread outward from the center in a circular pattern.

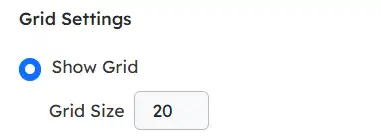
Grid Settings
- Enable Show Grid to help align elements accurately.
- Adjust the grid size as needed.
- The maximum grid size available is 1000.
How to Upload and Edit Images
Images can be added by dragging and dropping them into the upload image box or by choosing a file from your device.
When you click the Upload Image box, a separate upload window opens where you can drag and drop an image or click the image icon to browse and upload the file.
Supported formats: .png, .jpg, .svg
Maximum size: 2 MB
You can also choose images from Slidea’s built-in Image Library.
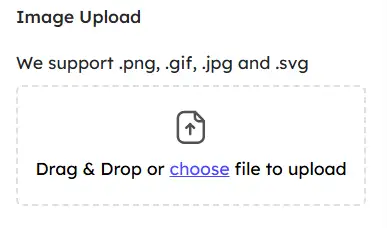
Image Crop Options
- Perfect
- Free-form
- Square
After cropping, click Save to upload the image.
Image Editing Options
When an image is selected, three options appear: Style, Position, and Animation.
Style
- Flip horizontally or vertically
- Crop image
- Adjust border radius
- Add outline (solid, dashed, dotted)
- Control outline width and color
- Add shadow using:
- Horizontal offset
- Vertical offset
- Blur
- Shadow color
- Horizontal offset
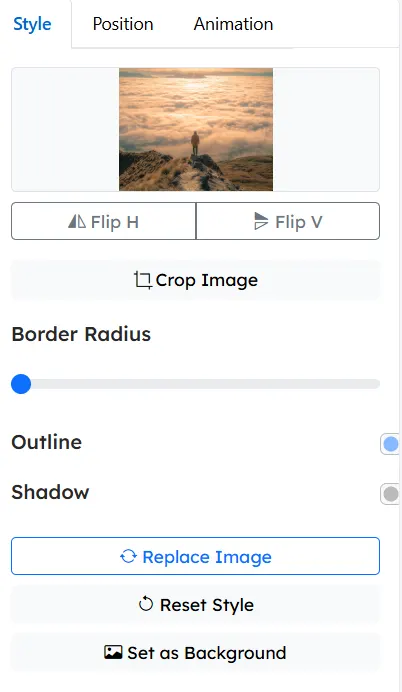
Additional Image Actions
- Replace Image – Replace the current image with a different image while keeping its position and size on the slide.
- Reset Style – Remove all applied styles (such as borders, shadows, and effects) and revert the image to its default appearance.
- Set as Background Image – Apply the selected image as the slide’s background instead of keeping it as a separate element.
Use Cases of the Multimedia Slide
This multimedia slide is useful when:
- You need complete layout freedom
- Visual and data elements must be combined
- Presentations require custom animations and positioning
- Slides are designed like a creative canvas and used as text or title content.
Leave a Comment
Your email address will not be published. Required fields are marked *