Images make presentations more engaging and help audiences understand information quickly. Visual elements can clarify questions, highlight key ideas, and make interactive sessions more dynamic.
When using images in Slidea, choosing the correct image size and format ensures your slides appear sharp and properly aligned across different screens.
This guide explains how to upload images and use the recommended sizes in Slidea presentations.
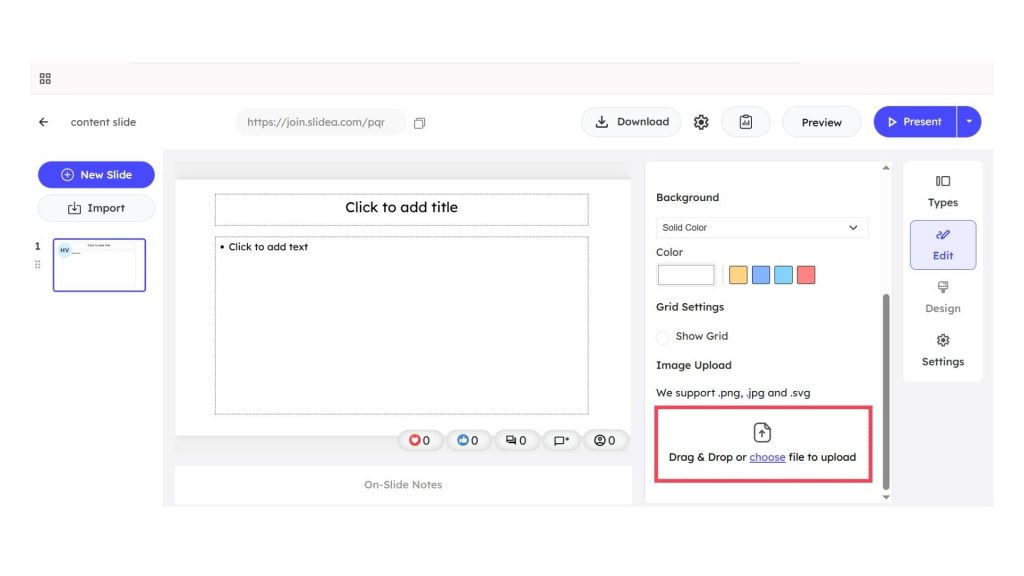
Step 1: Choose the Right Image Before Uploading
Before adding an image to your presentation, make sure it meets Slidea’s upload requirements.
Supported image formats include:
- PNG
- JPG / JPEG
- GIF
- SVG
These formats maintain good visual quality while keeping file sizes manageable.
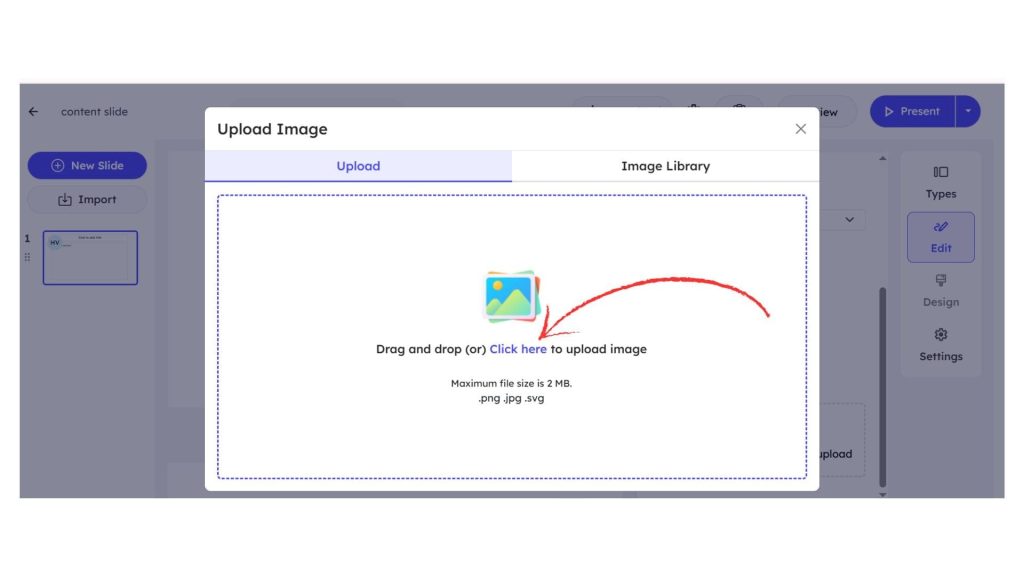
Step 2: Keep the Image File Size Within the Limit
Slidea allows images up to:
2 MB
If your image is larger than this, compress it before uploading. Keeping the file size small helps slides load faster during live presentations.
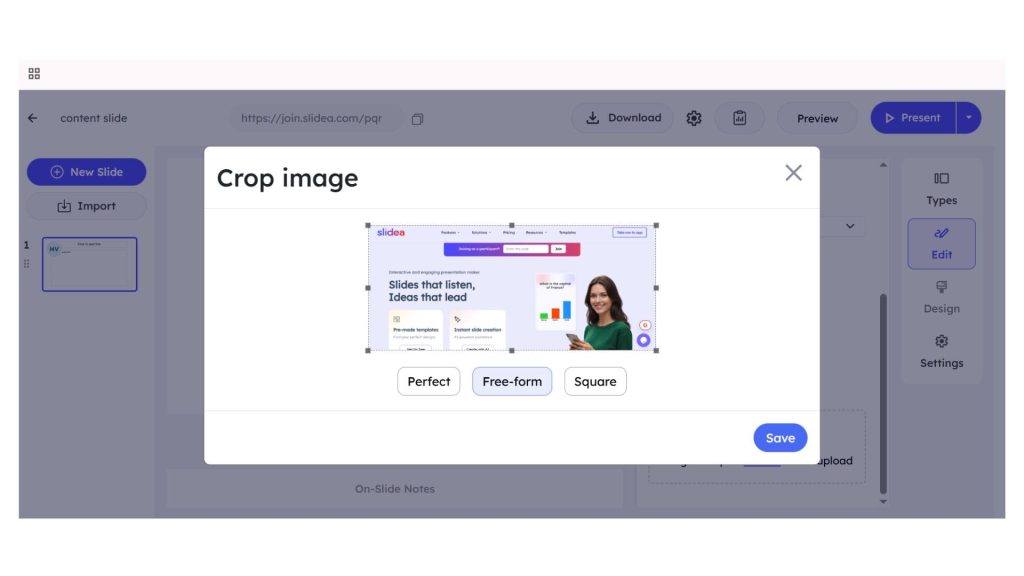
Step 3: Use the Correct Image Aspect Ratio
After uploading an image, Slidea opens a Crop Image window that allows you to adjust how the image appears on the slide.
You can resize or reposition the image using the crop frame. Slidea also provides preset cropping options:
- Perfect – Automatically fits the image to match the slide layout for the best display.
- Free-form – lets you manually adjust the crop area to any size or shape.
- Square – Crops the image into a 1:1 square format.
Once you adjust the crop area, click Save to apply the changes.
Using these cropping options ensures your images are properly aligned and displayed clearly within your presentation slides.
Step 4: Upload Images to the Appropriate Slide Types
You can add images to several slide types in Slidea to make your presentation more visual.
Images can be used in:
- Content slides to display visual explanations or examples
- Quiz slides such as Select Answer, Type Answer, Pick the Number, and Lineup (used as background images)
- Interactive slides like Multiple Choice, Word Cloud, Open-Ended, Scales, and Ranking
Using images in these slides helps participants understand questions more easily.
Tips to Optimize Images for Slidea Presentations
To ensure your images look clear and your presentation runs smoothly:
- Compress images so they stay under the 2 MB limit
- Use JPG for photographs and PNG for graphics or illustrations
- Follow recommended aspect ratios to prevent stretching
- Preview slides before presenting to ensure images display correctly
Using properly optimized images helps create a smooth and professional presentation experience in Slidea.
Final Thoughts
Using properly optimized images helps create a smooth and professional presentation experience in Slidea. By choosing the right format, size, and aspect ratio, you can ensure your slides look clear and engaging across different devices and screens.
Leave a Comment
Your email address will not be published. Required fields are marked *