The Ranking slide lets participants arrange options based on preference or priority. It’s great for decision-making, feedback, and interactive comparisons!
Create a Ranking Question:
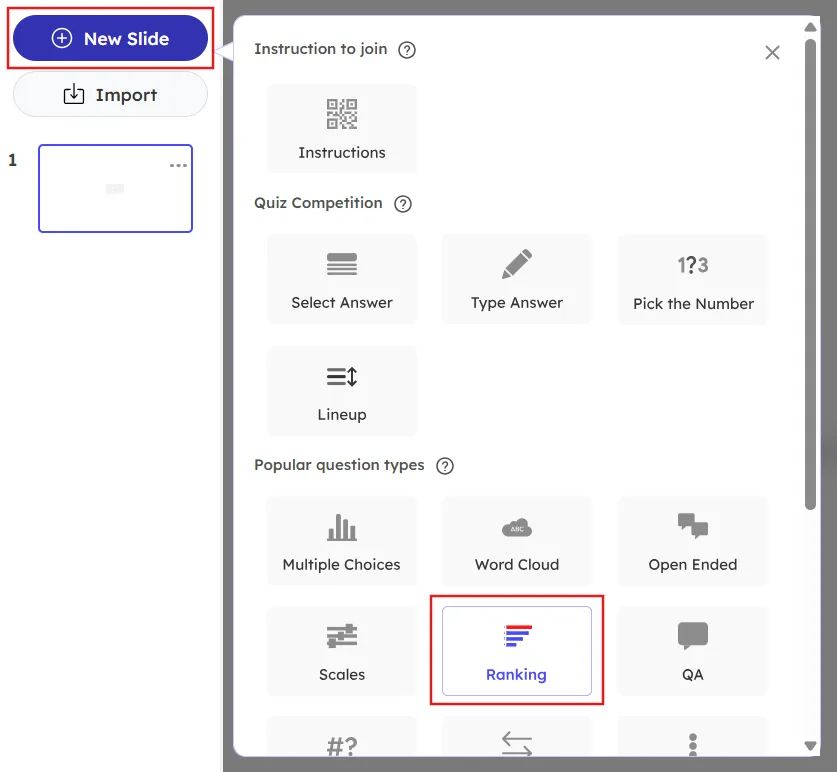
Click on the New Slide button in the top left corner of the presentation editor page.
Choose the Ranking slide type under Popular Question Types.
In the Content area, add your question in the Question input box in the right panel.
Click on Add a longer description to add more content to describe your question or to give a hint for the question.
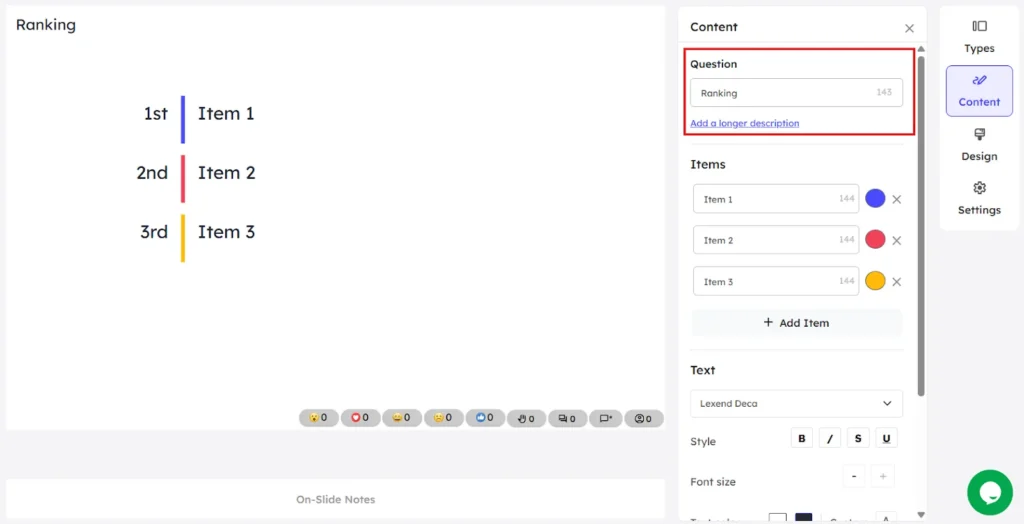
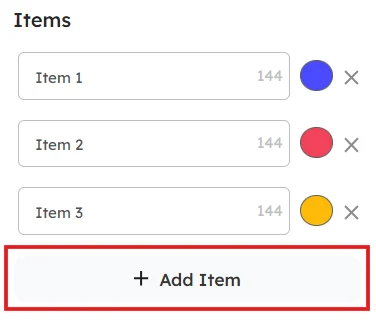
Enter the items/options your participants have to rank in the Items input boxes. You can add up to 5 items/options for a question. Click on the + Add Item button to add more items/options.
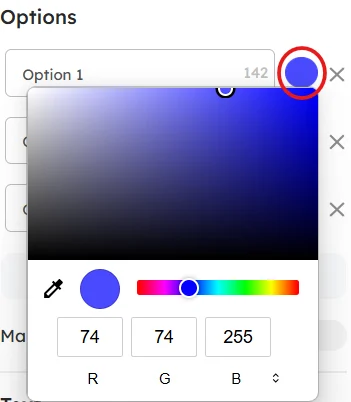
You can change the color for each item/option by clicking on the color option available to the right of each placeholder.
You can edit the content on your slides with the different text formatting options available on the right panel.
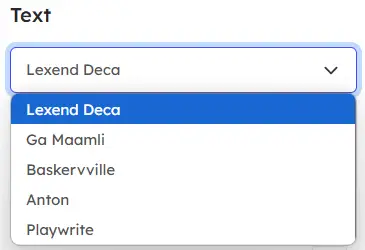
Click on the drop down box in the Text area to change the font style of the content.
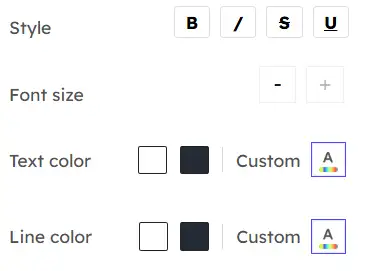
You can change the appearance of the content by making it bold, italics, strikeout and underline.
Change the font size by using – or + buttons.
Choose a color for the text and the line from the available default color options or use the custom colors option respectively.
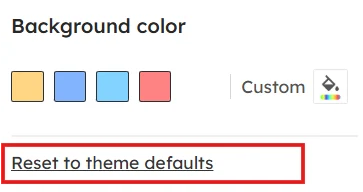
You can change the background color of the slide by choosing from the available default color options or by using the custom colors.

To remove all the custom effects and reset the slide back to original, click on Reset to theme defaults at the bottom of the right panel.
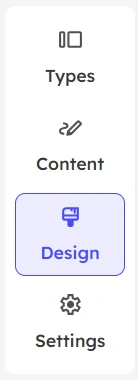
In the right panel, click on the Design menu to add an image and change its layout.
Under Slide menu,
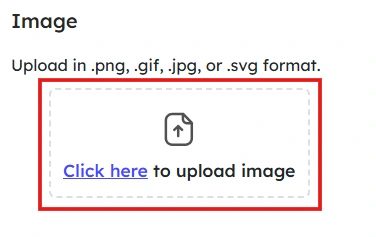
You can add an image by drag & drop or choosing a file from your device to your slide by clicking on the upload image icon. Your file should be in .png, .gif, .jpg or .svg format with a maximum file size of 15 MB.
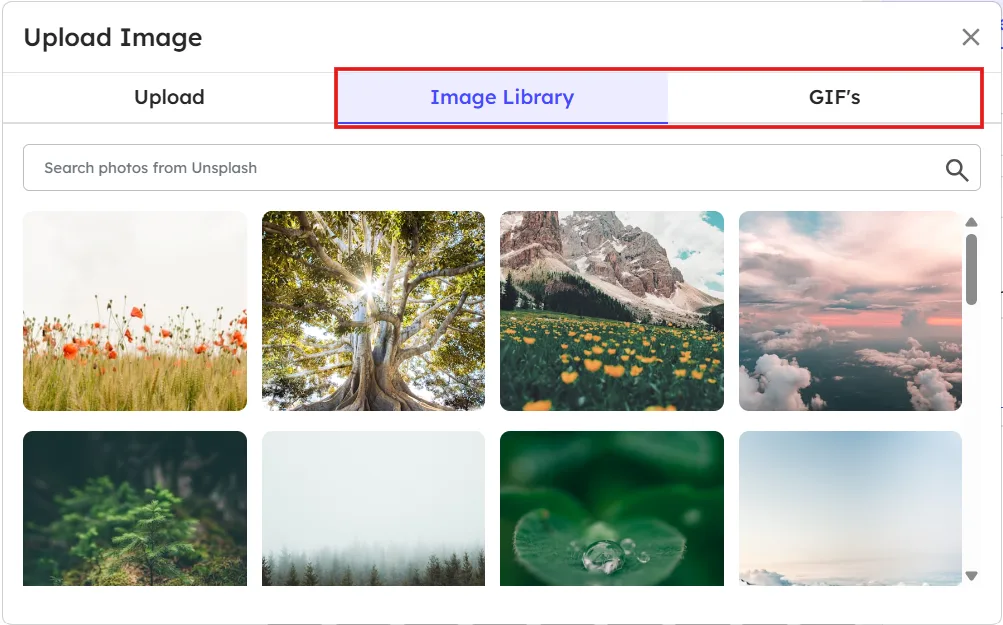
Also, we have a collection of images and gifs available under Image Library and GIF’s menu respectively.
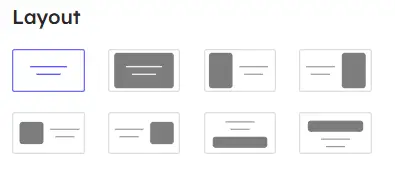
You can change the layout of the uploaded image by choosing one from the available layout options. You can see the preview of the image layout at the center panel while clicking on each option.
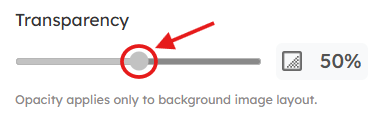
Use the slider in Transparency to adjust the opacity of the background image.
Under Themes menu,
You can choose a theme for your slide from the available default themes. You can also create your own theme for your slides.
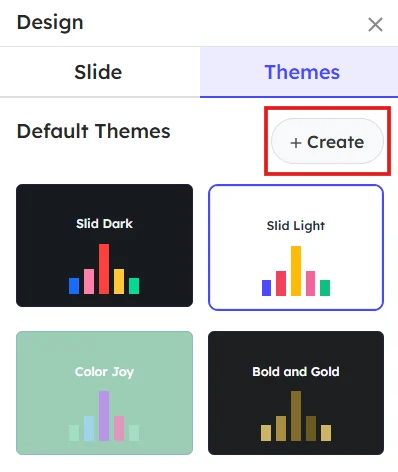
Read more about creating custom themes in our detailed guide.
In the right panel, click on the Settings menu to change the settings for this particular slide.
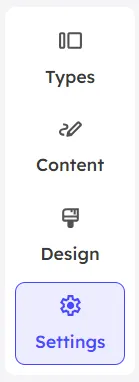
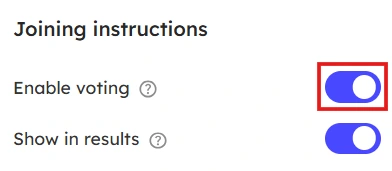
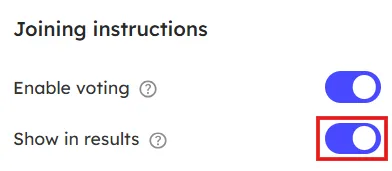
Under Joining instructions,
Toggle the Enable voting button to allow or disallow participants voting on the question.
Toggle the Show in results button to show or hide participants’ responses in the final results.
The presenter can store reminders, talking points, key notes for that particular slide by clicking on the On-Slide Notes at the bottom of the center panel.


Leave a Comment
Your email address will not be published. Required fields are marked *